The internet is a wonderful thing: Pinterest, Instagram, and Tumblr can supply you with endless sources of inspiration. It's so easy to go down a rabbit hole of beautiful images, but sometimes I wonder if it’s too much of a good thing. I know I end up just scanning over image after image, without stopping to consider how it was made, or why a person made the design choices they did. It’s just… Pretty, Next. Pretty, next. Pretty, next. I love process, and a lot of the work I make isn't very straigthforward. I wanted to remedy the "binge looking" by sharing how my work is actually made.
Gilding is a really wonderful & intricate process that takes sign painting to the next level. The gold is applied to the glass with water, and once it dries the glass turns into a mirror with reflects the light, making the sign super eye catching.
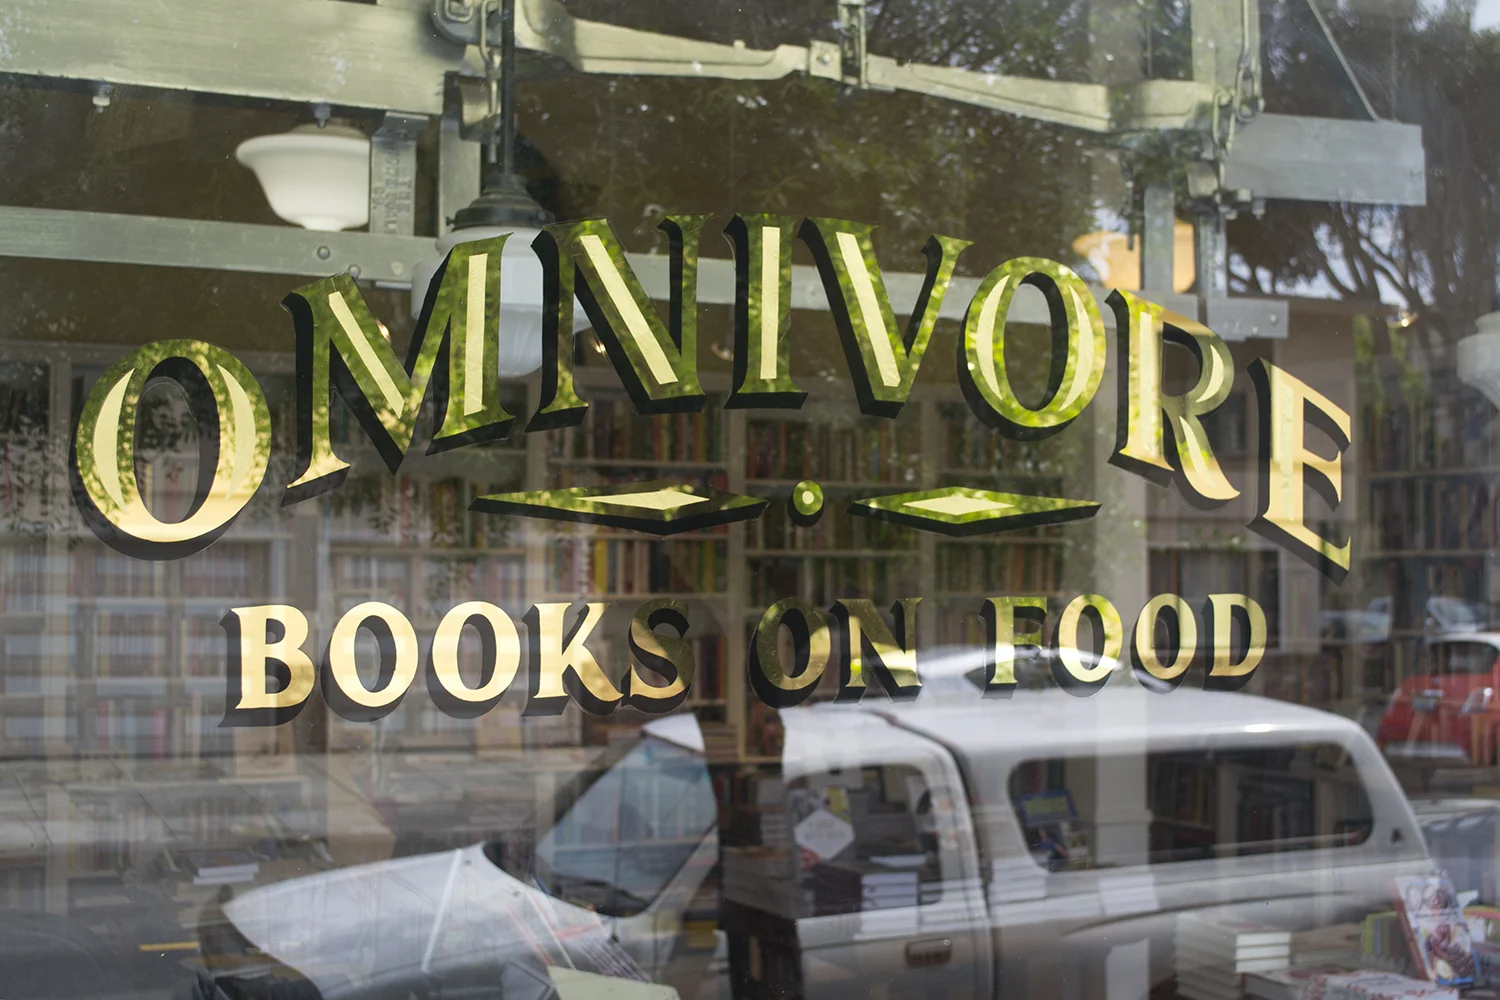
Omnivore Books, in San Francisco, is my kind of store. (Y'all know I love books and food.) I was stoked to get to gild their window. Like every sign, the process starts with sketching the design. In the case of Omnivore Book's window, the owner, Celia, had an antique label that she wanted me to draw inspiration from. Her store has both contemporary and antique books on food, so she wanted a sign that spoke to an early 20th century aesthetic.

Keeping with the aesthetics of her store, and the sample image she provided, I worked up a series of sketches for her to choose from.
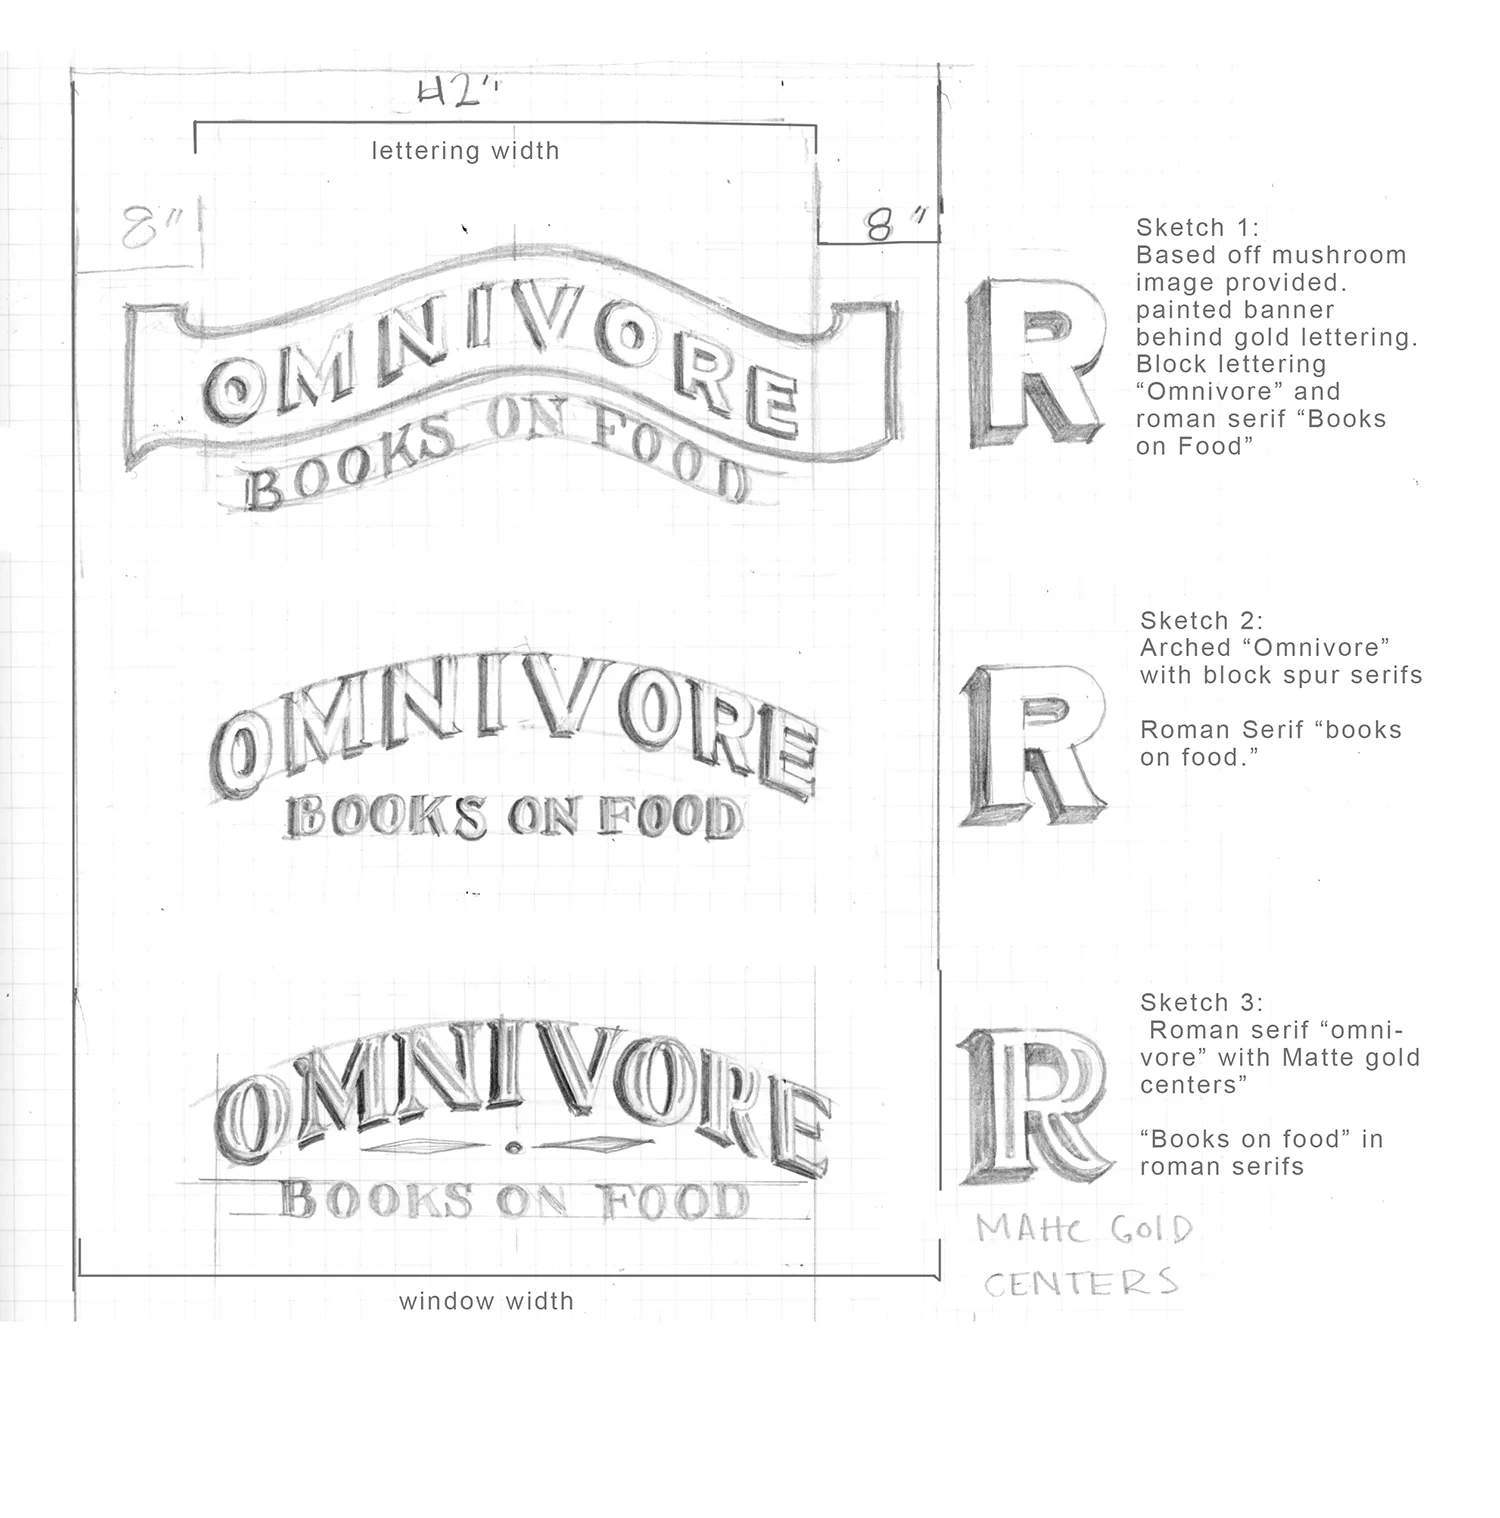
Celia selected the third sketch, which has mirror gold outline and matte gold centers, with black drop shadows. Very classic. The next step is to draw a finished design to scale. This will be the pattern for painting the sign.
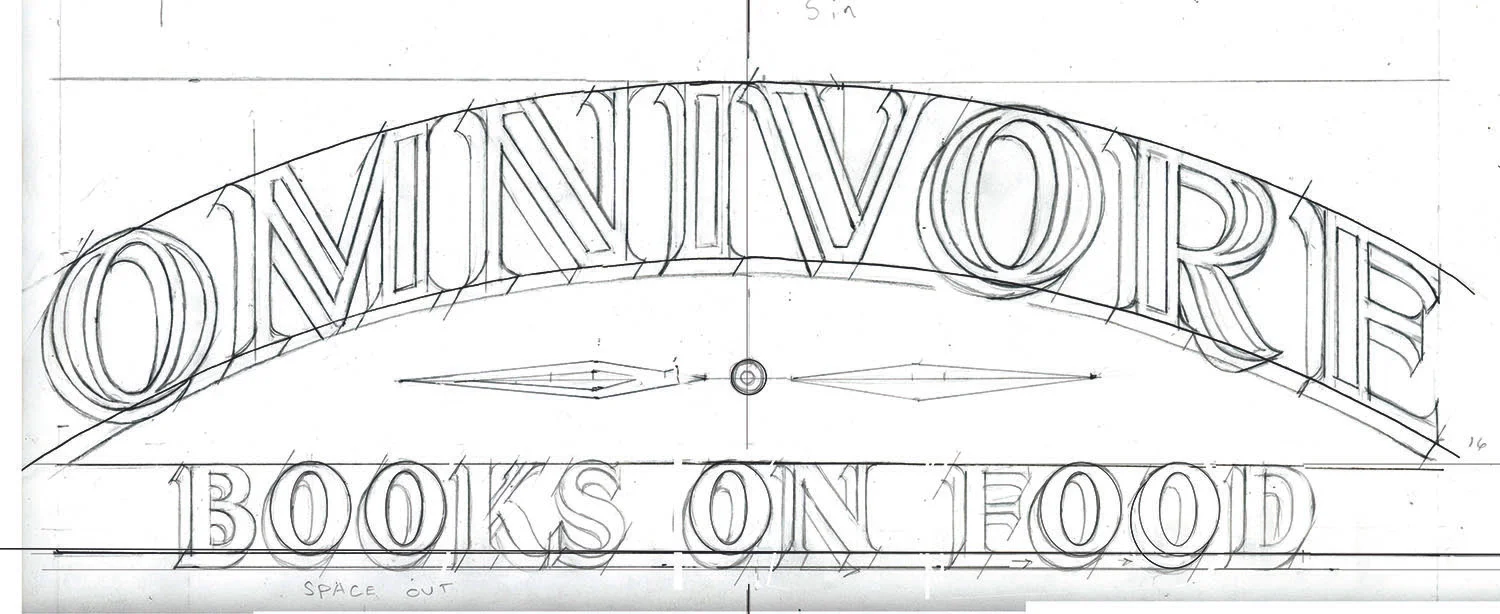
Once you've drawn the final design for the pattern, you have to perforate the lines so that you can transfer the design onto the glass with a bag of loose black chalk. This can be done with a tool as simple as a pounce wheel (a spiky little wheel that looks like a mini pizza cutter), or more technical as with a plotter that pokes the holes. I use an electropounce, which is an electric stylus. You hang the pattern on a metal easel, which the electropounce is grounded to. Then when you drag the stylus across the paper. When the stylus makes contact with the metal back, it complete the circuit and it burns little holes in the paper. Complicated sounding...but really very simple. Below is a little video of the electropounce in action. (The pattern being perforated is for a different job.)
OK! Now that our pattern is ready, we're ready to pack up our sign kit, and go on site and do the job. The first step of glass gilding is to determine where the sign will hang. With the help of the client you find the perfect height on the window, you hang the pattern on the OUTSIDE of the glass and pounce the pattern on with black chalk. The whole gilding and painting process will be done in reverse, inside.
Then you go on the INSIDE of the window and clean the glass very thoroughly. You want the glass to be as clean as possible because any little bit of crud or grease will keep the gold from coming in direct contact with the glass.
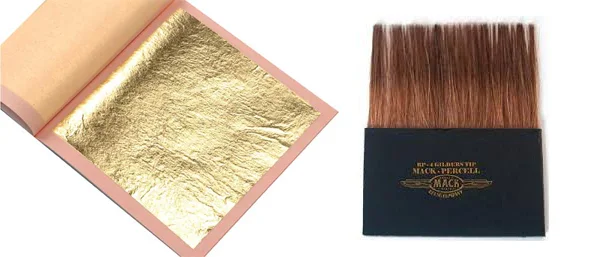
Book of gold, and gilder's tip.
Using water that has a little bit of gelatin dissolved in it (called size), you flow the size over the area the inscription will be, and carefully remove a sheet of gold from the book, using your gilder's tip (a flat brush for picking up gold.) Oh so carefully, you transfer it to the area where you flowed the size and bring it just close enough to the the glass that capillary action of the water sucks the gold off the tip, and onto the glass. Applying the sheets of gold is tricky, because they're so thin that just breathing on the gold too hard can cause it to crumple. There's nothing more disheartening than seeing a gorgeous sheet of gold crumple and fall to the ground, wasted. Once you've covered the entire inscription with gold, you let it dry to a mirror finish and gently burnish it on with cotton. You will probably have to repeat the above process, because there will inevitably be holidays (holes) in the gold...so, rinse & repeat.

SO SHINY!
Once you've succeeded in laying the gold, it's time to actually do some sign painting! You place the pattern on the inside of the glass, exactly lined up with where you pounced it on the outside. Then you lightly pounce your pattern on the gold. Now you paint the design in reverse, using black paint to back up the gold, to hold it in place.
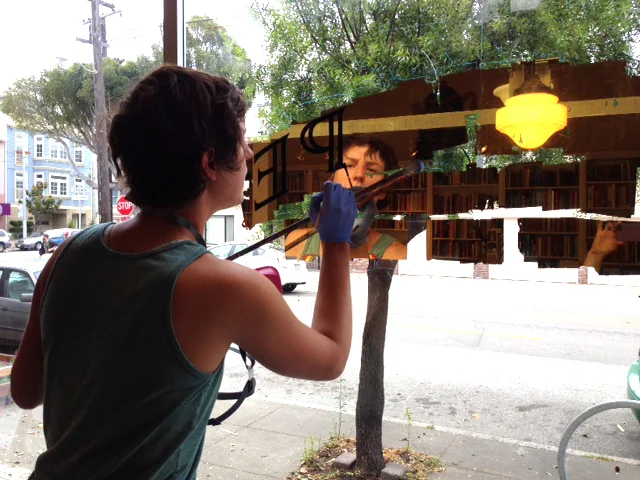
Here I am, looking all serious, painting the design on the gold. (My hair is a HOT mess.)
Once the design is painted, and has completely dried, You gently scrub off the excess gold leaf, leaving only the painted design.
Matte gold centers applied to the sign.
For this particular sign, the design has matte gold centers, which requires a surface gilding technique. A fast size varnish is painted where you want the gold to stick (in this case the centers.) You wait for the size to dry to a "whistle tack," then you apply patent gold. Patent gold isn't loose like glass gold, its' been hammered onto sheets of wax paper, and is much easier to apply. You gently press the gold into the size, and there it will stay. As you can see in the above, there are ragged edges of gold after you apply the matte centers. You use a soft brush to remove the excess. I find this part really fun, because gold is flying EVERYWHERE. I feel so fancy.
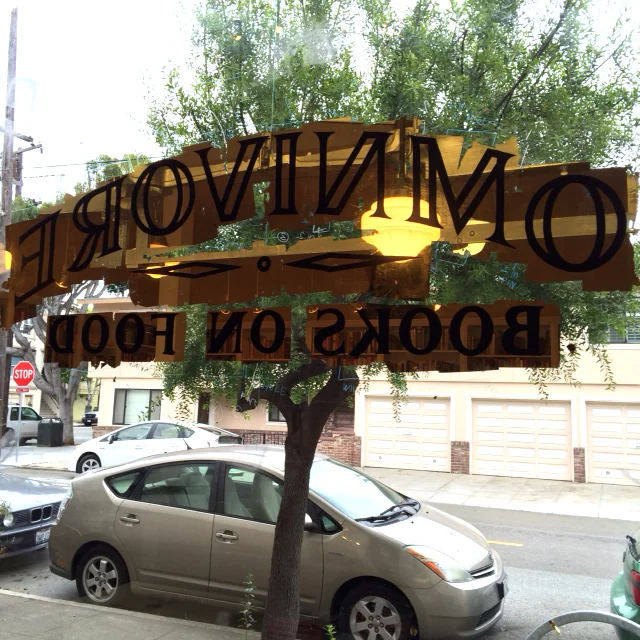
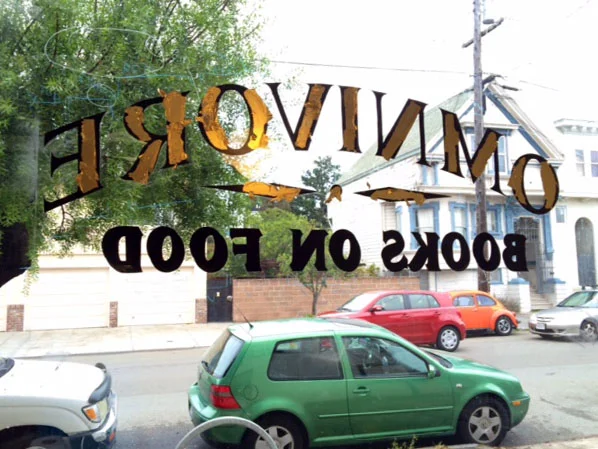
The final step (for this sign) was to paint drop shadows. Gilded letters are so reflective that black drop shadows help to ground the sign to the window, and really make the letters pop.
This sign was completed over two days, with another full day in the studio to prepare the pattern. As you can see, it's a really involved process, but I think the beauty and grace of the sign make it well worth the effort. One final video before we go, so you can see how the light dances across the sign. SO pretty.